
- How it works
- Compatible devices
Set up a Japan eSIM on iPhone or Android, understand when APN changes are needed, choose the correct data line and fix no-data issues after landing.

Install your Japan eSIM before departure while you have reliable Wi-Fi, but do not assume every plan uses the same APN or roaming setting. After landing, enable the travel line, assign it to mobile data, keep data switching off, then follow the instructions supplied with that exact bundle. Most setup failures come from choosing the wrong data line or copying settings from a different eSIM product.
Compare current Japan eSIM plans →
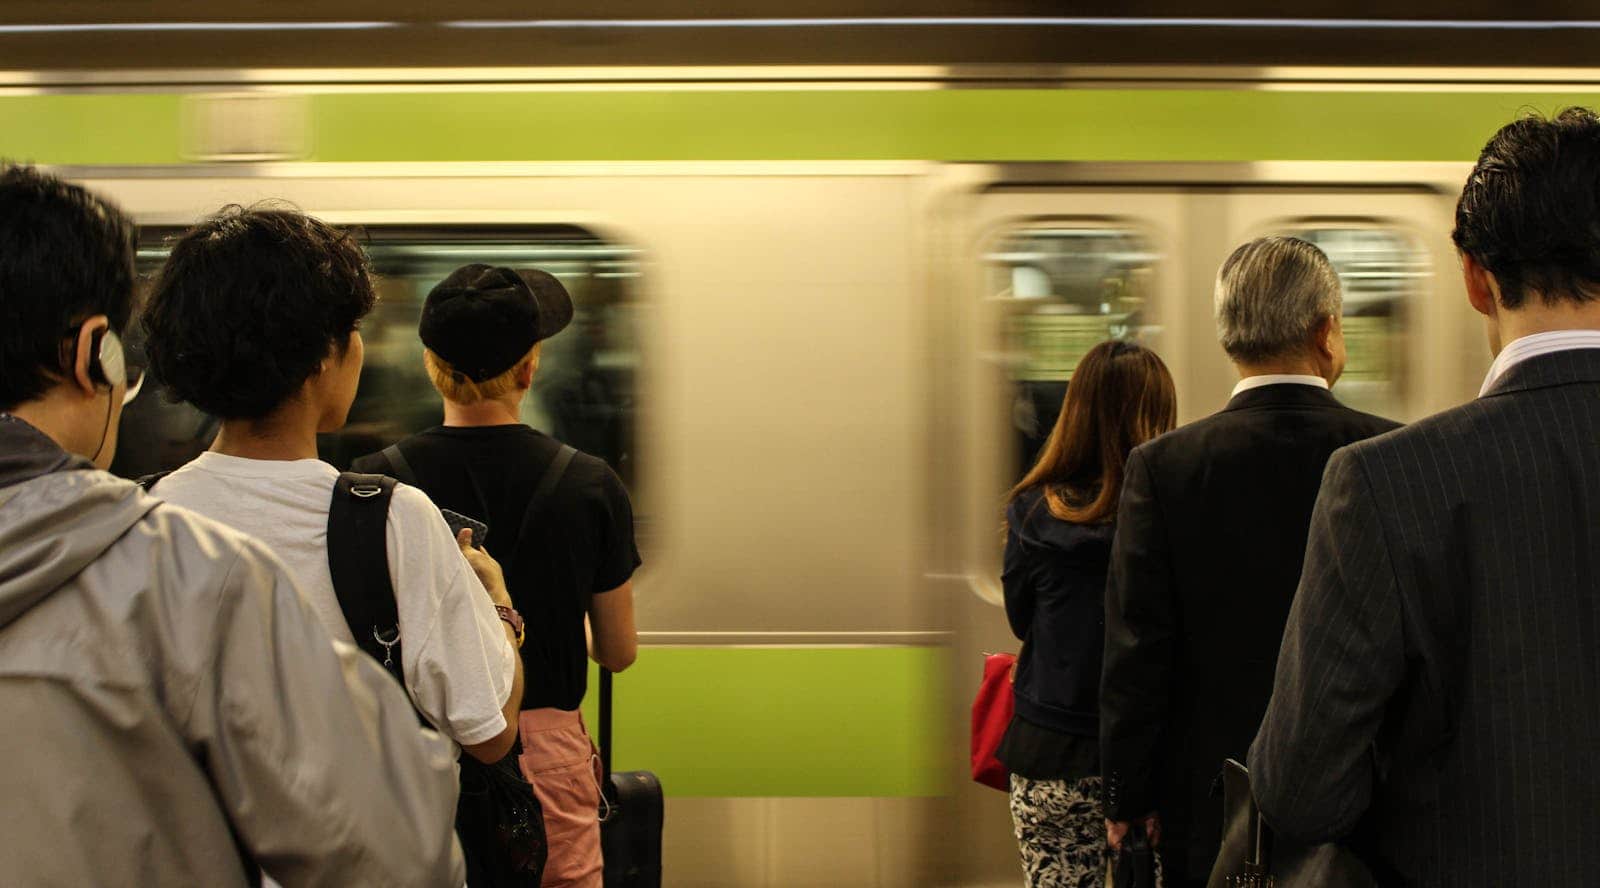
A typical Japan trip combines Tokyo train transfers, station navigation, translation, day trips, rail tickets, digital attraction passes and hotel messages while you are moving. That is why a reliable setup and a sensible data buffer matter more than chasing the largest headline allowance.
Japan eSIM setup in 60 seconds
- Install and label the eSIM on Wi-Fi before departure.
- On arrival, turn on the travel line and select it for mobile data.
- Turn off cellular-data switching so the phone cannot fall back to your home line.
- Apply roaming and APN settings only as instructed for your bundle.
- Test a webpage and maps above ground before changing anything else.
Suggested starting bucket for Japan:
| Trip length | Light data | Most travellers | Heavy data/maps | Starting point |
|---|---|---|---|---|
| 2–4 days | 1GB | 3GB | 5GB | See Japan plans |
| 5–8 days | 3GB | 5GB | 10GB | See Japan plans |
| 9–14 days | 5GB | 10GB | 20GB | See Japan plans |
| 15+ days or work-heavy travel | 10GB | 20GB | 30GB+ equivalent | Compare unlimited |
Japan itineraries often blend dense city navigation, rail timetables, translation, and frequent booking checks. That pushes many travellers into moderate usage even if they are not heavy streamers.
Three practical patterns:
The key is not the number of days, but how many transfer-heavy days your trip includes. Build your plan around those peak days.
For a practical cross-check, open decide your data amount before buying, then compare with the travel eSIM hub for Australians. If your trip is mostly city-hopping, use Japan eSIM for Tokyo, Kyoto, and Osaka. If you are choosing between more headroom and a tighter plan, compare Japan eSIM unlimited vs fixed data.
See current Japan plans and inclusions →
For gateway-specific transport, Wi-Fi and setup checks, open the Narita, Haneda and Kansai Japan airport eSIM guide.
Menu labels vary slightly by iOS version and region, but the safe sequence is:
Apple confirms that compatible iPhones can keep a home line and travel eSIM active together, but the phone must be unlocked to use another provider. See Apple’s travel eSIM guidance and our illustrated iPhone setup guide.
An APN tells the phone which network path to use. Most Japan eSIMs populate it automatically; only enter an APN manually when the order instructions or support team tells you to.
Keep the APN on Automatic for Japan Single Use and Unlimited bundles unless the exact current order instructions say otherwise. Copying an APN from another plan can stop data from working.
If your BambooSIM Japan Unlimited eSIM still has no mobile data after checking the line, activation and automatic network selection, follow the Japan Unlimited APN troubleshooting steps as a final check. These instructions apply to the Japan Unlimited product named in your order, so do not copy them to another plan.
On iPhone, the Cellular Data Network menu appears only when the carrier permits APN editing. Apple recommends verifying the exact values with the provider and warns that incorrect APN settings can break mobile-data connectivity (Apple Support). On Android, use the access-point menu under the selected Japan SIM and save a new profile rather than overwriting your home carrier’s profile.
Need a broader diagnosis? Keep fixes for No Service and activation errors open as backup.
Tokyo, Osaka, and Kyoto trips typically involve constant station navigation and timetable checks. Even with modest social use, this creates steady medium usage.
Adding regional day trips increases map and translation dependency. Cache routes before departure and keep a data buffer for transit changes.
If you upload video daily from sightseeing areas, move up one plan tier early to avoid mid-trip pressure.
Plan around your busiest day, not your average day. In Japan, the busiest day is often a transfer day with rail changes, late check-ins, and last-minute route updates.
Confirm the exact phone model supports eSIM and is carrier-unlocked, then check the live Japan page for current plan inclusions, validity and price. Compatibility can vary by sales region even when two phones share a model name.
For many travellers, yes if usage is mostly maps, messaging, and bookings. If you upload media daily or hotspot, move up a tier early.
Install in Australia on stable Wi-Fi, then switch to the travel data line after landing and run a quick maps-plus-booking test.
Not always. Dense city areas, indoor stations, and regional segments can behave differently, so keep a small buffer and test at each major move.
Follow the instructions for your exact bundle. Some roaming profiles need it, while Japan Single Use and Unlimited bundles have product-specific settings. Keep roaming off on your home Australian line unless you knowingly want home-carrier roaming.
Usually yes on dual-SIM compatible phones. Keep your home line for required SMS and keep mobile data assigned to the travel eSIM.
Keep the APN on Automatic unless the exact current order instructions supply a different value; Japan Unlimited normally configures automatically and has separate fallback instructions.
Check line enabled state, confirm data-line priority, toggle airplane mode once, then restart if needed.

Plan a Japan eSIM for Tokyo, Kyoto, and Osaka with practical advice on data needs, rail-heavy days, setup timing, and the habits that prevent arrival-day issues.

Alex A.
Apr 5, 2026
Plan a 10-day Japan eSIM for KDDI/au coverage, unlimited-data fine print, hotspot use, setup timing and trips from Tokyo to Kyoto.
Alex A.
Jul 24, 2026

Compare 10 Mbps and full-speed Japan eSIMs for maps, video, uploads and laptop use. Separate the speed cap from hotspot data before choosing a KDDI plan.

BambooSIM Editorial Team
Sep 25, 2026
Choose a plan for the days you’re away.
